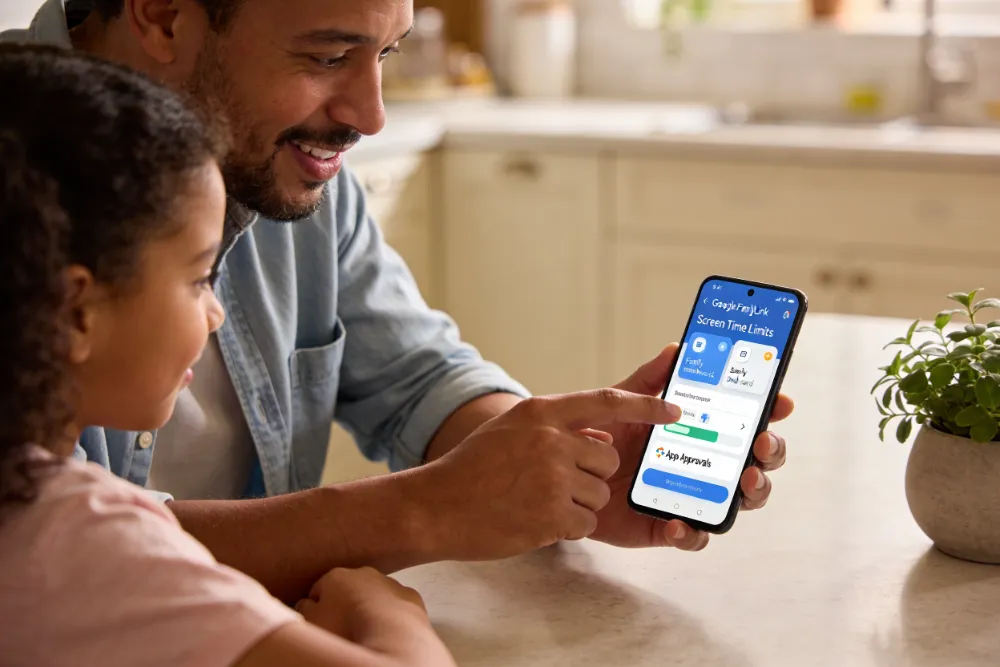


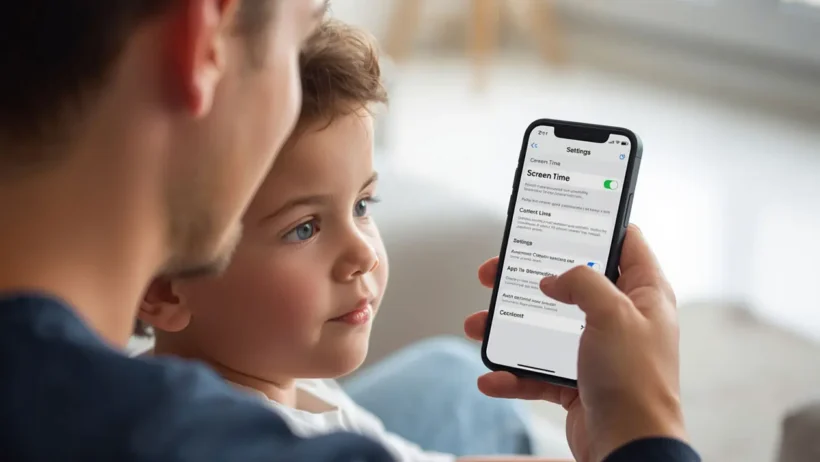
If your child has an iPhone, you have probably already felt that mix of relief and worry. Relief because they can reach you anytime. Worry because the internet is a vast, unfiltered place, and not all of it is appropriate for young eyes.
The good news is that Apple has built some genuinely powerful Parental Controls on iPhone directly into iOS. You do not need to download anything extra or pay for a third-party app to get started. Everything lives inside a feature called Screen Time, and once you know where to look, setting it up is surprisingly straightforward.
In this guide, we walk you through each step clearly so you can feel confident about what your child can and cannot access on their iPhone.
What Are iPhone Parental Controls?
Apple’s Parental Controls on iPhone are grouped under a built-in feature called Screen Time, introduced in iOS 12 and improved significantly in later versions. It gives parents control over how long a child uses their device, which apps they can open, what content they can view, and even who they can communicate with.
Think of it as a set of digital guardrails. You are not locking your child out of their phone. You are shaping the experience so it fits their age and your family’s values. These Parental Controls on iPhone are designed to help families create a safer and healthier digital environment for children.
Screen Time works on iPhones, iPads, and iPod touch devices running iOS 12 or later. If your child’s device is part of Apple’s Family Sharing setup, you can manage all of this remotely from your own iPhone. That is a big convenience, especially for parents of younger children.
Step 1: Open Screen Time on Your Child’s iPhone
Start by going to:
Settings > Screen Time
If Screen Time has never been turned on before, you will see an option that says “Turn On Screen Time.” Tap it.
Apple will then ask whether this is your iPhone or your child’s iPhone. Select “This is My Child’s iPhone.” This distinction matters. Choosing the child option will prompt you to set a Screen Time passcode that only you know, so your child cannot change the settings themselves.
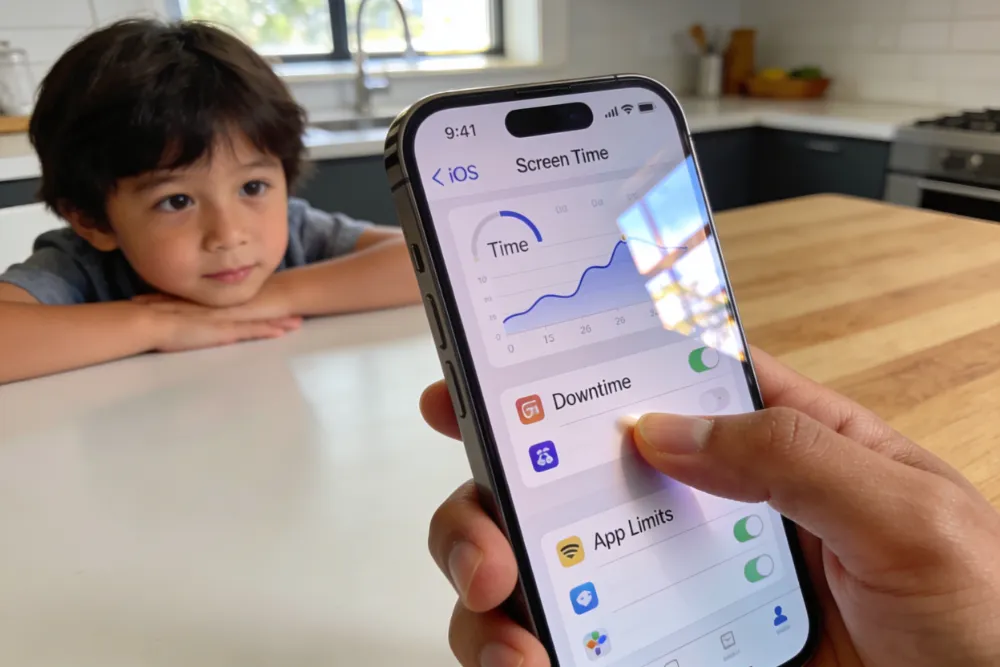
Tip: Choose a passcode that is different from your child’s device unlock code. If they figure out your Screen Time passcode, they can adjust everything you set up in your Parental Controls on iPhone settings.
Step 2: Set a Screen Time Passcode
After selecting “This is My Child’s iPhone,” Apple will ask you to create a Screen Time passcode. This is a four-digit code that protects all the parental control on iPhone settings.
Enter a code you will remember, but your child will not easily guess. Avoid birthdays or simple patterns.
If you forget this passcode later, recovery is possible through your Apple ID. Make sure your Apple ID credentials are up to date just in case.
Helpful resources
Healthy Screen Time Rules for Kids by Age (Toddlers to Teens)
Learn age-appropriate screen time rules for kids, from toddlers to teens, with practical tips that help families create healthier digital habits.
Step 3: Set Up Downtime
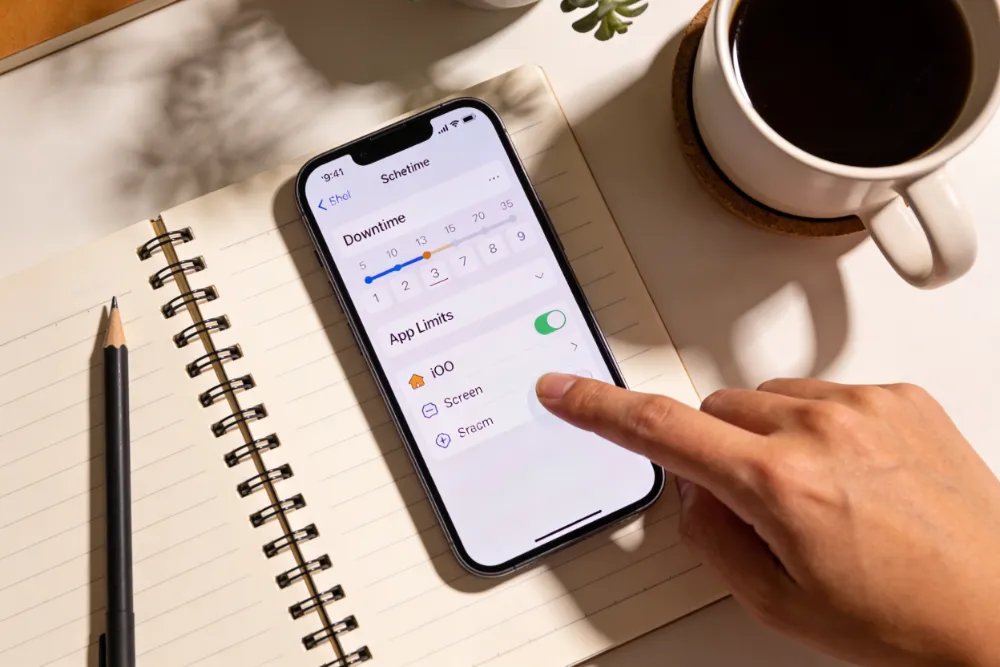
Downtime is one of the most useful features for families. It lets you schedule specific hours when only certain apps and phone calls are available. Everything else gets blocked automatically.
To set it up:
- Inside Screen Time, tap Downtime
- Toggle it on
- Choose Every Day or Customize Days depending on your needs
- Set a start and end time
For most families, a good starting point is blocking screen time from 9 PM to 7 AM on school nights, and maybe allowing a little more flexibility on weekends. Of course, your schedule will look different from ours. The point is that you get full control.
Many parents also follow healthy screen time recommendations from pediatric experts when creating device schedules for children and teens.
During Downtime, apps your child tries to open will show a small lock icon. They can send a request to extend their time if needed, and you will get a notification to approve or deny it.
Step 4: Add App Limits
App Limits let you cap how many minutes or hours your child spends on specific app categories each day. Once the limit runs out, the app is blocked until midnight or until you approve more time.
To set App Limits:
- Tap App Limits in Screen Time
- Tap Add Limit
- Browse the categories (Social Networking, Games, Entertainment, etc.) or search for specific apps
- Set a daily time limit and tap Add
You can set different limits for different days of the week, which is helpful if you want stricter limits on school days. And if your child tries to go over their limit, they will need to ask you for more time directly through a notification you receive.
Step 5: Use Content and Privacy Restrictions
This is the most detailed section of Screen Time, and it is where you can really fine-tune what your child sees and does on their device.
Go to Screen Time > Content & Privacy Restrictions, then toggle it on.
Here is a breakdown of the key sections inside:
iTunes and App Store Purchases
Under this section, you can:
- Prevent installing apps entirely (great for younger children)
- Prevent deleting apps
- Disable in-app purchases (this one is critical, in-app purchases can add up fast)
- Require a password for every purchase or free download
We strongly recommend turning off in-app purchases unless you are actively monitoring your child’s spending.

Allowed Apps
This section lets you hide or restrict built-in Apple apps entirely. For example, you can remove Safari, the Camera app, Siri, or AirDrop from your child’s view if you feel they are not ready for those features. These Parental Controls on iPhone give parents more flexibility over which built-in tools children can access.
Hiding Safari does not mean your child cannot browse the web. Other browsers can still be installed unless you also restrict app downloads. If your goal is to control web browsing, the next section is more relevant.
Content Restrictions
Here you can set age-based limits for:
- Music, Podcasts, and News: Filter out explicit content
- Movies and TV Shows: Choose allowed ratings (G, PG, PG-13, etc.)
- Books: Block explicit content
- Apps: Restrict by age rating (4+, 9+, 12+, 17+)
- Web Content: This is important. You can choose between Unrestricted Access, Limit Adult Websites, or Allowed Websites Only
For younger children, Allowed Websites Only is the most restrictive option. You manually add the specific websites your child is allowed to visit. For teens, Limit Adult Websites uses Apple’s filtering system to automatically block known adult content while still allowing general browsing.
Privacy Settings
You can lock certain privacy settings so your child cannot change them. For example, you can prevent apps from accessing location services or stop your child from turning off their location sharing with you.
This section also includes options to prevent changes to accounts, meaning your child cannot log out of iCloud or add a new Apple ID without your knowledge.
Helpful resources
Best Parental Control Apps for Kids (Tested by Parents)
Discover the top parental control apps trusted by real families to help manage screen time, monitor online activity, and keep kids safer online.
Step 6: Set Communication Limits
For children who use Messages or FaceTime, the Communication Limits feature gives you control over who they can call or text.
You can:
- Restrict communication to contacts only
- Allow communication with everyone
- Set separate rules for during Screen Time and during Downtime
For younger children especially, limiting communication to known contacts is a meaningful layer of protection against unwanted contact from strangers.
Step 7: Enable Family Sharing for Remote Management
If you set up Family Sharing on your own iPhone, you can manage your child’s Screen Time settings remotely. You do not need to physically hold their device every time you want to make a change.
To set this up:
- On your own iPhone, go to Settings > [Your Name] > Family Sharing
- Add your child’s Apple ID to your family group
- Once they are part of your family group, their Screen Time settings will appear in your Screen Time menu under Family
This is a genuine quality-of-life upgrade for parents. You can approve app requests, check usage reports, and adjust settings from anywhere.
Helpful resources
7 Dangerous Apps Parents Should Know About in 2026
Explore the most dangerous apps parents should watch in 2026, including platforms linked to cyberbullying, explicit content, and online predators.
Step 8: Review the Screen Time Weekly Report
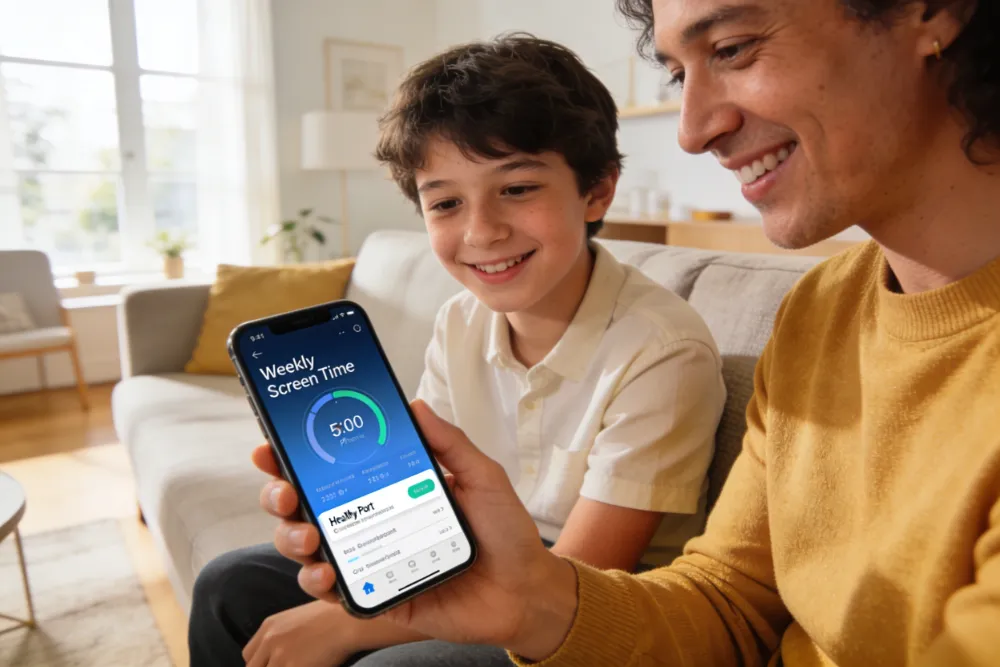
Screen Time also generates a Weekly Report showing how much time your child spent on different apps and categories. You can view this at any time from the Screen Time main page.
We recommend reviewing this report together with your child, not as a punishment exercise, but as a conversation starter. Understanding how much time goes to TikTok versus reading apps, for example, can open up really productive discussions about balance and habits.
FAQs: Common Questions Parents Ask
Can my child turn off Screen Time themselves?
Not if you have set a Screen Time passcode and they do not know it. Without the passcode, they cannot change any of the restrictions you have put in place through your Parental Controls on iPhone settings.
What if my child uses a school-issued iPhone?
School-managed devices often have their own mobile device management (MDM) profiles installed. Screen Time settings may behave differently or be locked by the school. Contact the school’s IT department for guidance in that case.
Does Screen Time work if my child gets a new device?
If Family Sharing is set up, Screen Time settings tied to your child’s Apple ID should carry over when they sign in to a new device. This makes managing Parental Controls on iPhone much easier across multiple devices.
Can my child request more time?
Yes. When an app limit runs out or Downtime kicks in, your child can tap Ask For More Time. You receive a notification on your device and can approve or deny the request with a single tap. This keeps you in the loop without requiring you to physically be there.
A Few Things to Keep in Mind
Setting up parental controls on iPhone is a meaningful step, but it is not the whole picture. Technology is changing quickly. Apps update their features, new platforms emerge, and children find creative workarounds sometimes.
We always encourage parents to pair technical controls with open conversations. Talk to your child about why certain limits exist. Explain what kinds of content can be harmful and why you care about their online safety. Children who understand the reasoning behind rules tend to be more cooperative than those who feel like rules were imposed without explanation.
Even the best parental controls on an iPhone work more effectively when they are combined with trust, communication, and age-appropriate guidance.
Resources like Common Sense Media’s digital wellbeing advice can also help parents build healthier technology habits at home.
Also, as your child grows, their needs will change. A 10-year-old and a 15-year-old need very different levels of restriction. Revisit your settings every few months and adjust them as your child demonstrates responsibility.
Conclusion
Setting up parental controls on iPhone does not have to be overwhelming. Apple has made Screen Time genuinely accessible, and with about 15 to 20 minutes of setup time, you can create a much safer and more balanced digital environment for your child.
Here is a quick recap of what we covered:
- Turn on Screen Time and set a passcode only you know
- Use Downtime to schedule screen-free hours
- Set App Limits to cap daily usage by category
- Enable Content and Privacy Restrictions to filter what your child can access
- Use Communication Limits to control who they can contact
- Set up Family Sharing to manage everything remotely from your own phone
- Review weekly usage reports and use them as a starting point for conversation
You do not need to be a tech expert to protect your child online. You just need to know where to look. And now you do.